WorldAnimalFoundation.org is reader-supported. When you buy through links on our site, we may earn an affiliate commission. Learn More
If you want to treat your dog to something special, the Halo 3 collar offers the perfect gift of freedom and safety. I recently tested this GPS dog collar on my Dobermans, Athena, and Ares, and it truly stands out as a fantastic way to keep your dog safe while allowing them the freedom to explore.
Designed by Cesar Millan, the Halo 3 collar uses alerts to teach your dog to recognize and stay within set boundaries. A unique aspect of this collar is that both you, the OWNER, and your dog need to undergo training. This ensures that you’re both well-prepared to use the collar effectively, keeping your dog attentive to the boundaries and safe at all times.
Setting Up a Halo Collar Fence by Walking the Boundary
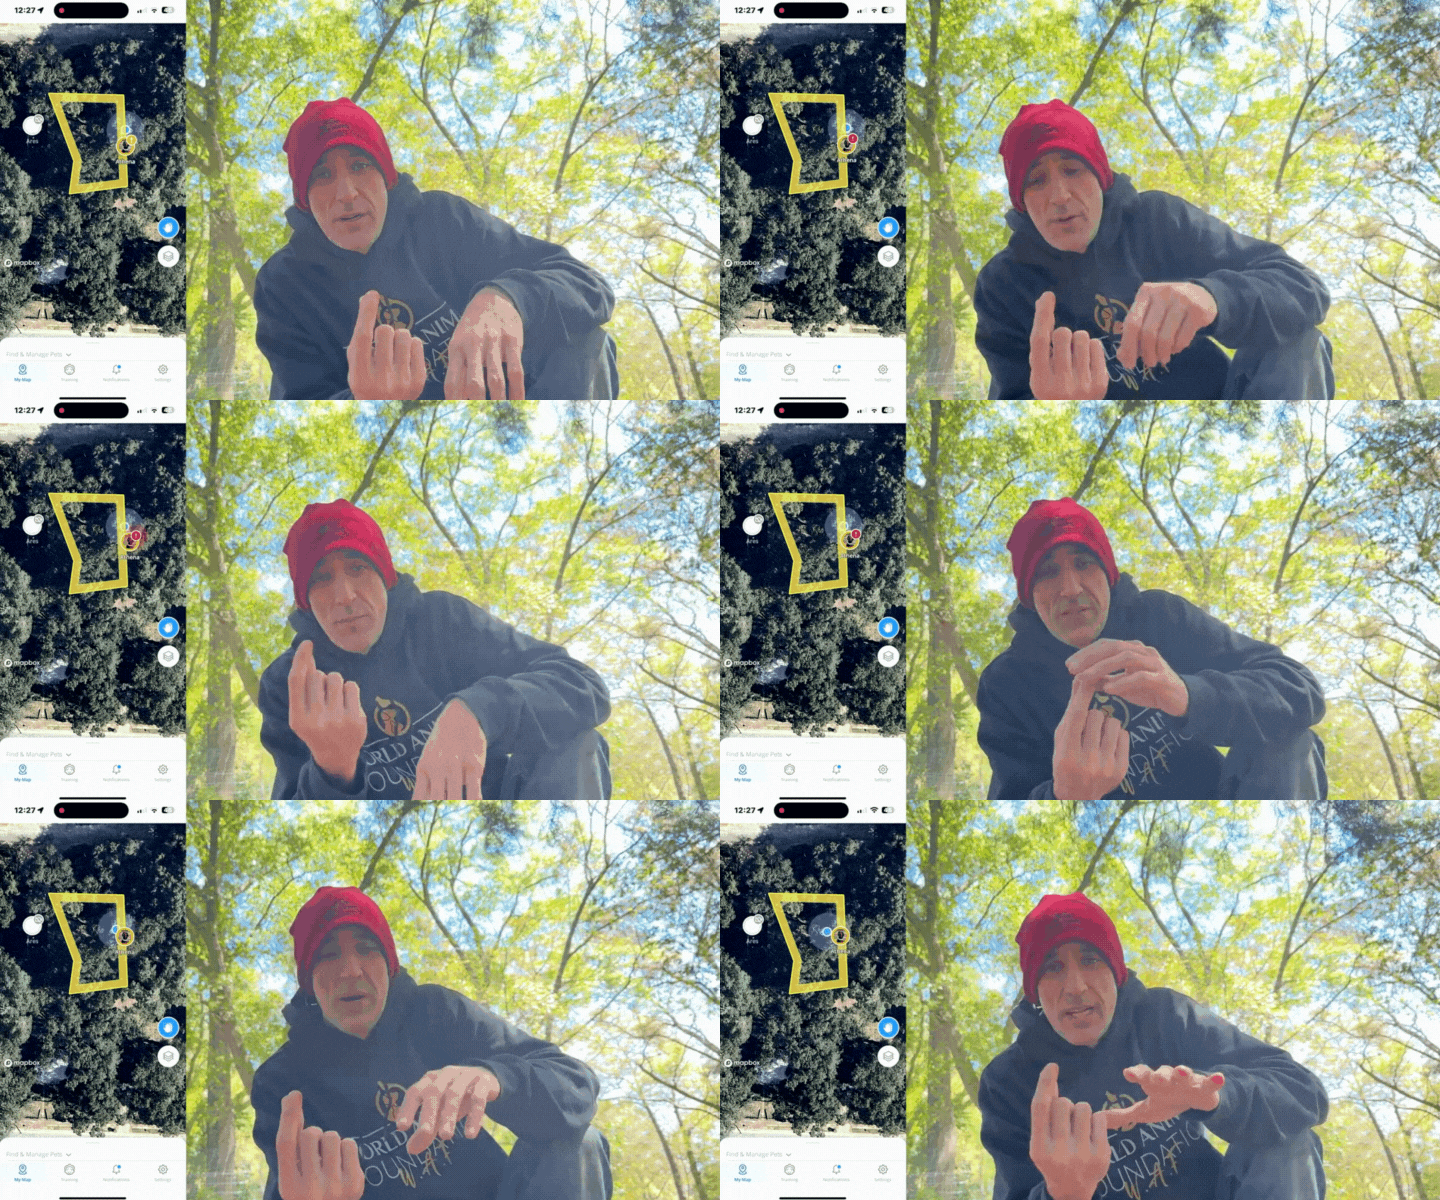
Setting up a fence for your pet using the Halo Collar by walking the boundary is simpler than you might think! In this video, we’ll guide you through the steps to easily create a safe space for your furry friend. Whether you’re a new Halo Collar user or looking to refine your existing setup, follow along to ensure your pet enjoys freedom and safety in your yard.
You can watch this video for a detailed tutorial on setting up a fence by walking the boundary with the Halo Collar or scroll down for a quick summary of the key points from the video.
Quick Summary
1. Preparing the Collar
Start by charging your Halo Collar. Simply press and quickly release the front button to turn it on. The setup process should automatically commence, connecting the collar to your WiFi. This might take a few seconds to a couple of minutes.
2. Download the App
Ensure you have downloaded the Halo app and subscribed to the service. The app is user-friendly and largely automates the setup process.
3. GPS Initialization
Before starting on your fence, go to ‘Advanced Settings’ in the app and select ‘GPS Initialization’. Step outside to calibrate the GPS, especially if your area has heavy tree coverage. This ensures your collar has the most accurate location data.
Creating Your Virtual Fence
To construct a virtual fence, start by mapping out the boundary. Then, walk along this boundary with the collar (leaving your dog behind). As you move, the Halo system will automatically generate the fence.
1. Starting Point
With your collar on and the app ready, select ‘Add GPS’ to mark the starting point of your virtual fence.
2. Walk the Boundary
Slowly walk the boundary of the area you want to fence in. At each corner or turn, select ‘Add GPS’ again to set a new fence post.
3. Completing the Loop
Continue until you return to your starting point. The app will automatically connect the last point to the first, completing your fence. You don’t need to align perfectly with the initial point; the app fills in any small gaps.
4. Testing the Fence

After setting up the fence, walk towards it with the collar to ensure it triggers as expected. Note: Use yourself for testing instead of stressing your pet, especially if they are sensitive to new experiences.
5. Maintaining GPS Accuracy
Regularly calibrate the GPS to maintain accuracy, particularly if you’re in a densely wooded area. This might be necessary weekly or biweekly, depending on your environment.
Conclusion
With your Halo collar set up and your virtual fence active, you can enjoy peace of mind knowing that your pet is safe and secure. The Halo Collar offers a comprehensive containment solution without the need for physical fencing, which can be costly and less flexible.
By following these steps, you can effectively create a safe and secure area for your pet, leveraging technology to enhance their freedom and your convenience.


